ES Blog
阴影猫
主页
文章
关于
最新文章
技术
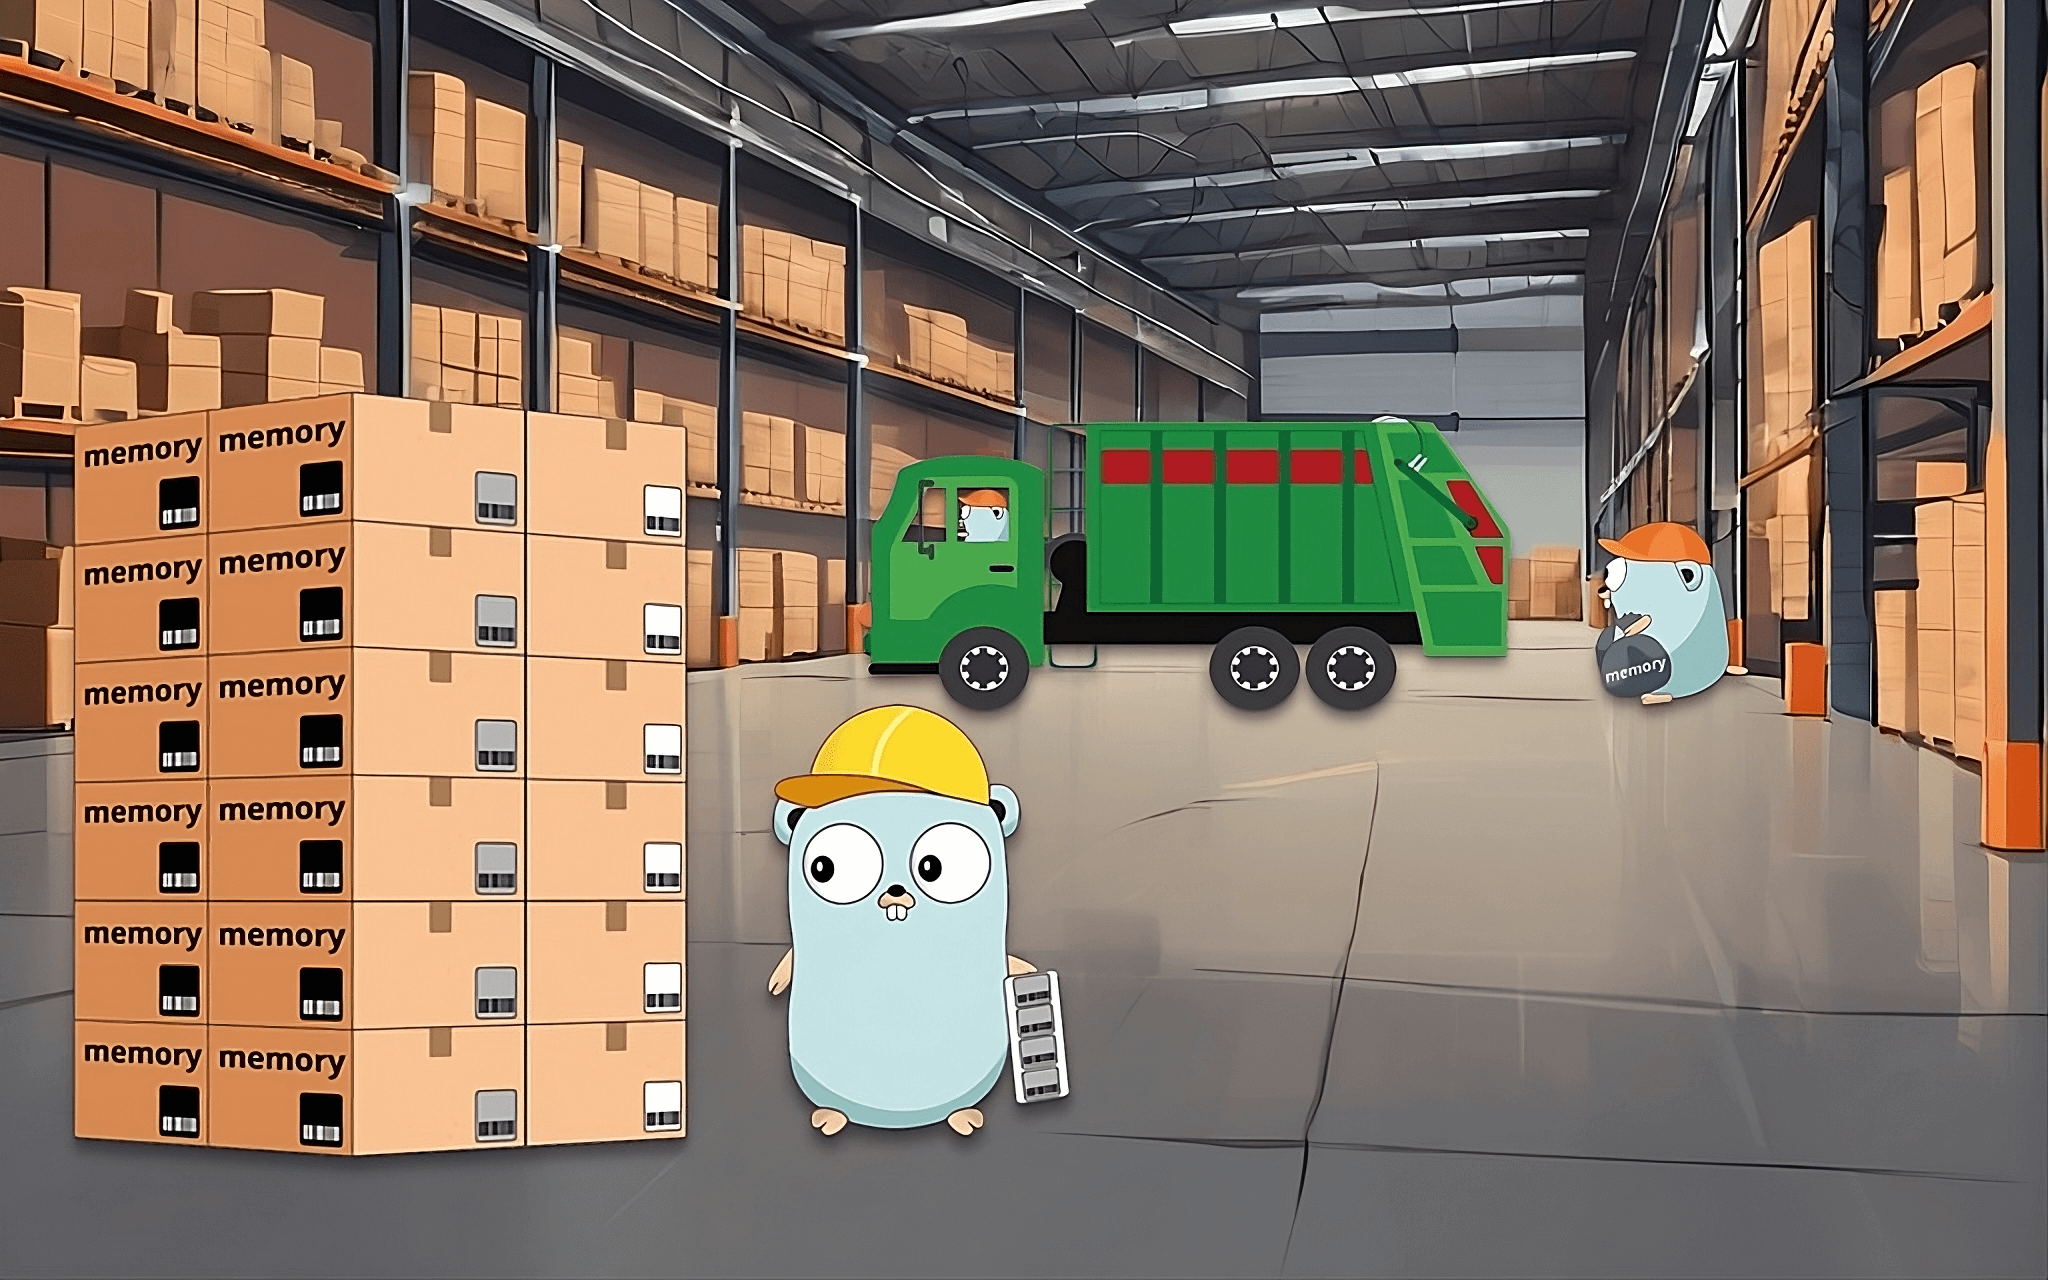
Go 垃圾回收浅析
2024 年 12 月 3 日
技术
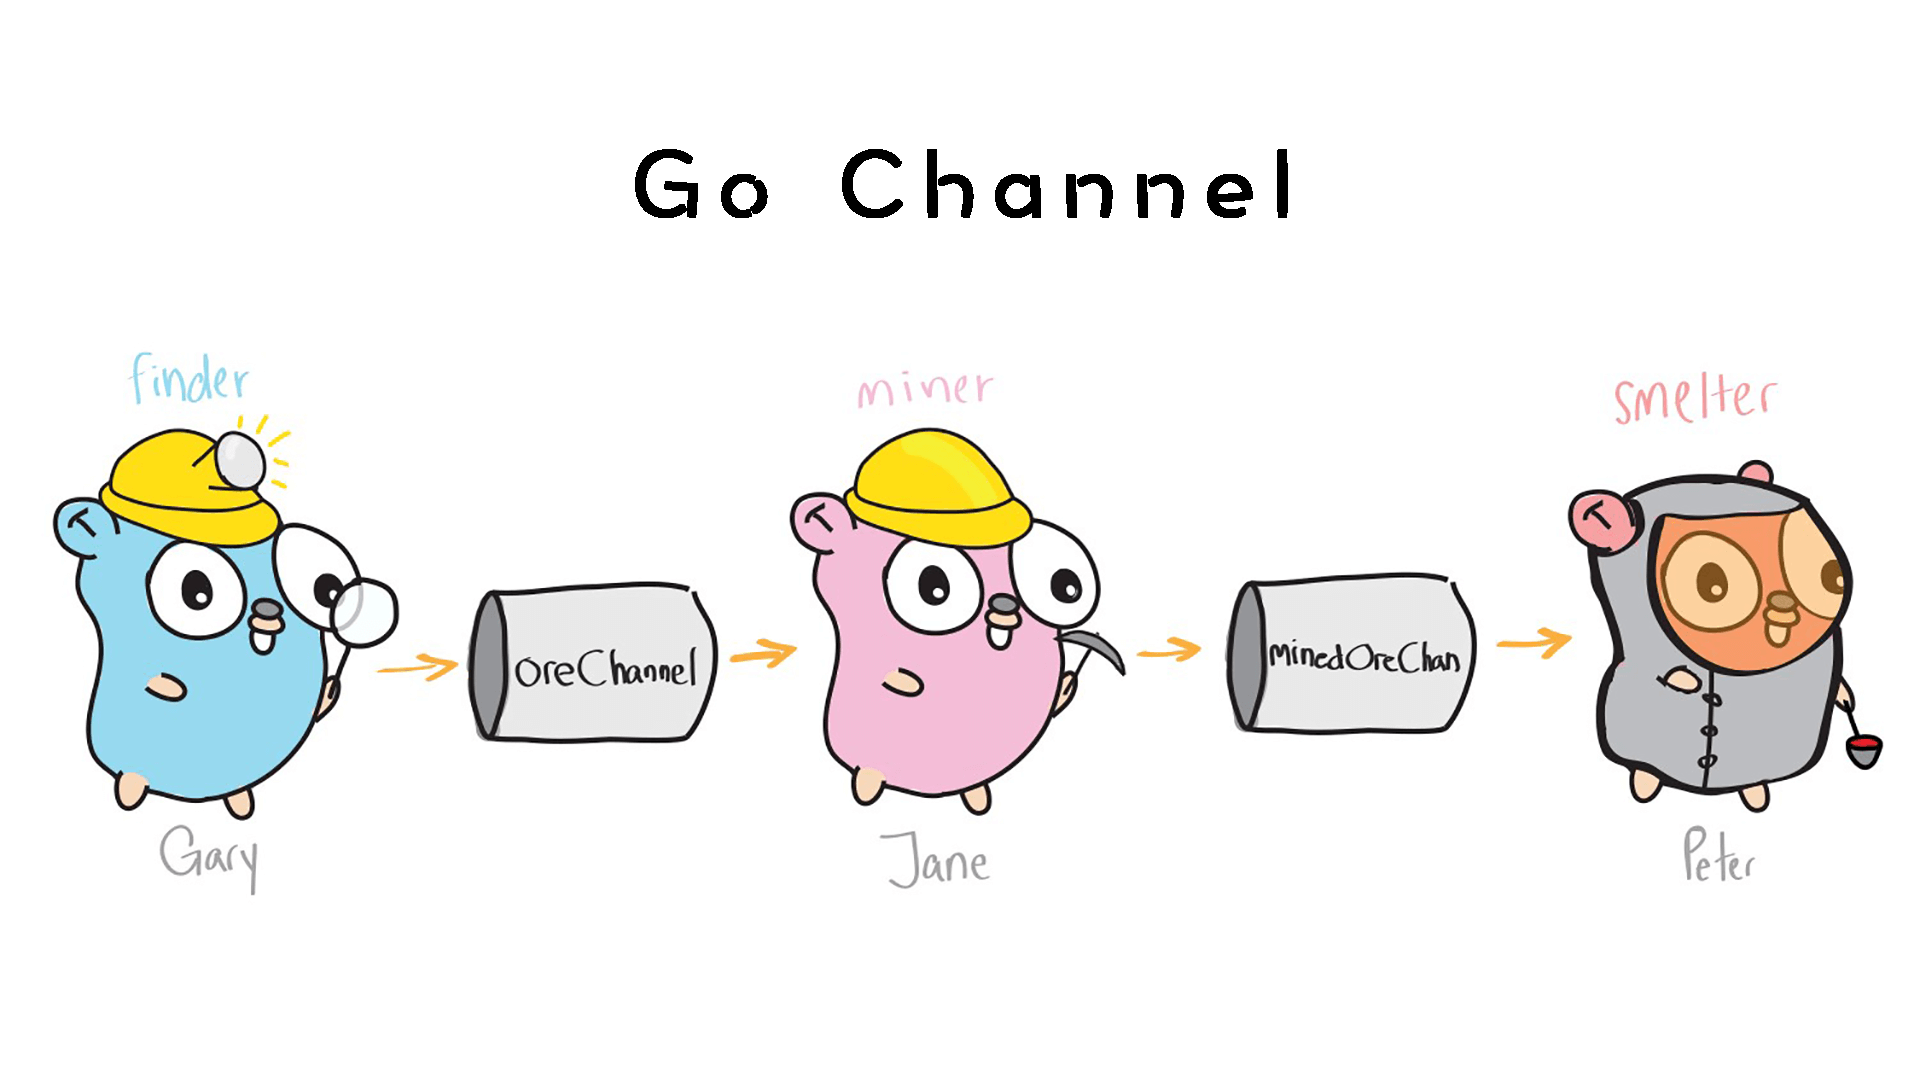
Go Channel 浅析 —— 基本操作的底层实现
2024 年 9 月 4 日
技术
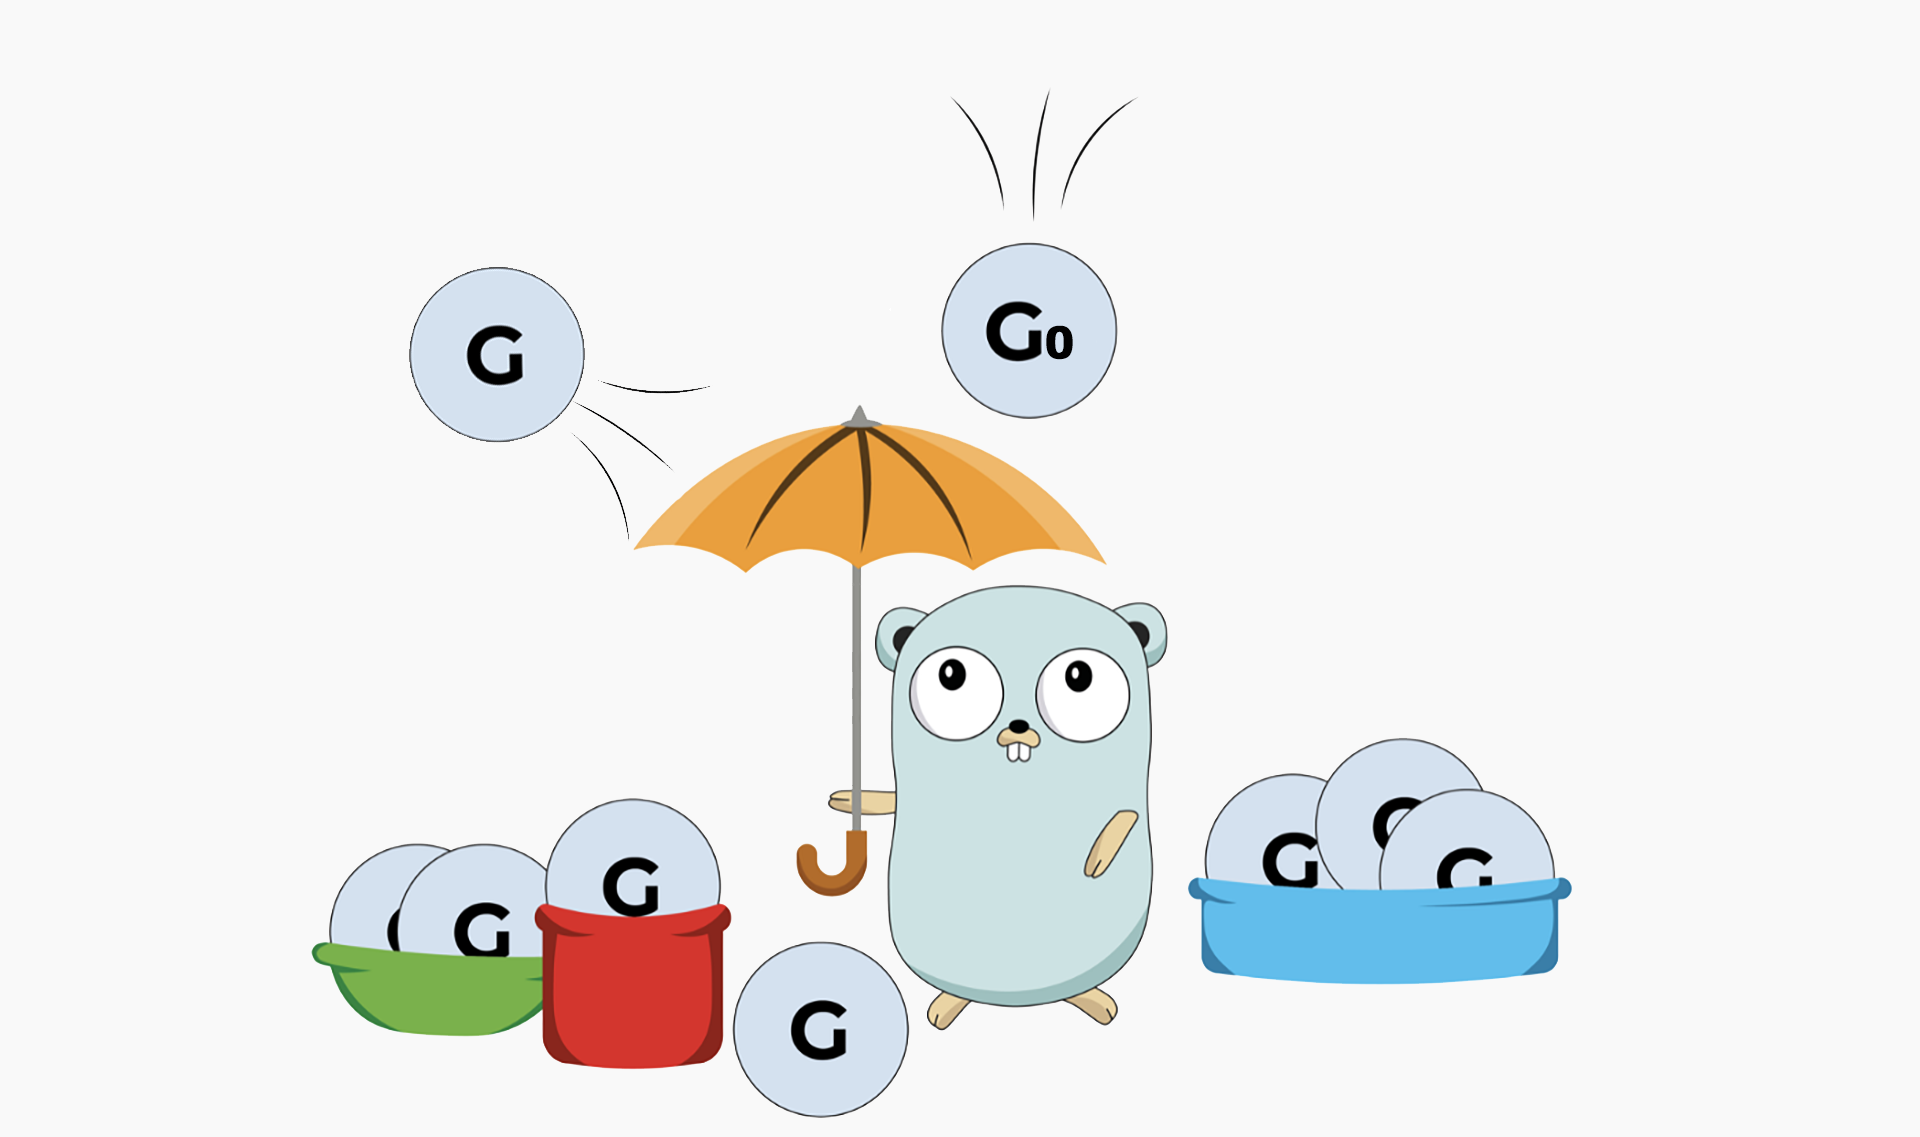
Go 调度器浅析 —— Goroutine 启动和执行
2024 年 4 月 25 日
技术
Redis 数据结构浅析
2024 年 4 月 3 日
技术
崩溃容错共识算法
2024 年 3 月 9 日
技术
Go 编译器浅析
2024 年 3 月 8 日
技术
macOS 环境下内存泄露检测
2023 年 9 月 6 日
技术
C / C++ 部署 Tensorflow 模型
2022 年 10 月 12 日
技术
PHP 源码中 similar_text 函数的具体实现
2021 年 4 月 20 日
技术
Nginx 惊群效应的处理和事件调度循环
2021 年 4 月 18 日
技术
Gin 通过中间件接入 Jaeger 收集 Tracing
2020 年 9 月 1 日
阅读历史文章